Preparing for HOA Maintenance Inspections
9 April 2026
Homeowners’ Association (HOA) inspections can feel like a pop quiz on your property’s upkeep. Whether you're a homeowner or a landlord, preparing for an HOA maintenance inspection is crucial to avoid costly fines and maintain your property's value. But don't worry—getting ready for these inspections doesn’t have to be overwhelming. With a little preparation, you can breeze through the process and even enhance your home's curb appeal.
In this guide, we'll discuss everything you need to know about HOA maintenance inspections, including what inspectors look for, how to prepare, and key maintenance tips to keep your property in top shape year-round.
What Is an HOA Maintenance Inspection?
Before we dive into the nitty-gritty, let’s break down what an HOA maintenance inspection actually is.Homeowners' associations conduct these inspections to ensure that all properties within the community comply with established standards. These standards help maintain the neighborhood’s aesthetic appeal, property values, and overall safety. Inspections are usually performed on a scheduled basis, but they can also arise from homeowner complaints or random checks.
Failing an inspection can result in violation notices, fines, or even legal actions if the issues aren't resolved. That’s why staying ahead of these inspections is essential for a stress-free homeownership experience.
What Do Inspectors Look for During an HOA Inspection?
Each HOA has its own set of guidelines outlined in the community’s Covenants, Conditions, and Restrictions (CC&Rs). However, most inspections focus on common areas of concern. Here are some key aspects inspectors typically evaluate:1. Exterior Condition of Your Home
- Peeling paint or faded exterior- Cracks in walls or foundation
- Damaged windows, doors, or shutters
- Mold, mildew, or rust stains
2. Roof and Gutters
- Missing or damaged shingles- Clogged or sagging gutters
- Signs of leaks or water damage
3. Landscaping and Lawn Maintenance
- Overgrown grass, weeds, or dead plants- Unkempt bushes or trees obstructing walkways
- Unsightly yard clutter or unapproved decorations
4. Driveway and Walkways
- Cracks, stains, or potholes- Loose bricks or uneven pavement
- Proper drainage to prevent pooling water
5. Fencing and Exterior Structures
- Broken or leaning fences- Chipped paint or rotting wood
- Unapproved sheds or structures
6. General Cleanliness and Orderliness
- Trash bins stored correctly- No visible debris, junk, or abandoned vehicles
- Holiday decorations removed in a timely manner
Understanding what the HOA looks for can help you tackle potential issues before they escalate.

How to Prepare for an HOA Maintenance Inspection
Now that you have a clear idea of what inspectors check for, it's time to roll up your sleeves and get your property inspection-ready. Here’s a step-by-step guide to help you prepare:1. Review the HOA Guidelines
Your HOA has a rulebook, commonly referred to as CC&Rs, that outlines what's allowed and what isn’t. Go through these rules carefully to ensure compliance. If you’re unsure about any guidelines, reach out to the HOA board or property management company for clarification.2. Conduct a Self-Inspection
Pretend you're the inspector and walk around your property with a critical eye. Look at everything from the paint on your walls to the condition of your lawn. If you notice any issues, jot them down, and create a to-do list for repairs and maintenance tasks.3. Take Care of Minor Repairs in Advance
Don’t wait for the last-minute scramble! Small issues like peeling paint, minor cracks, or clogged gutters are easy to fix but could lead to violations if ignored. Address these problems early so they don’t become a headache later.4. Tidy Up Your Landscaping
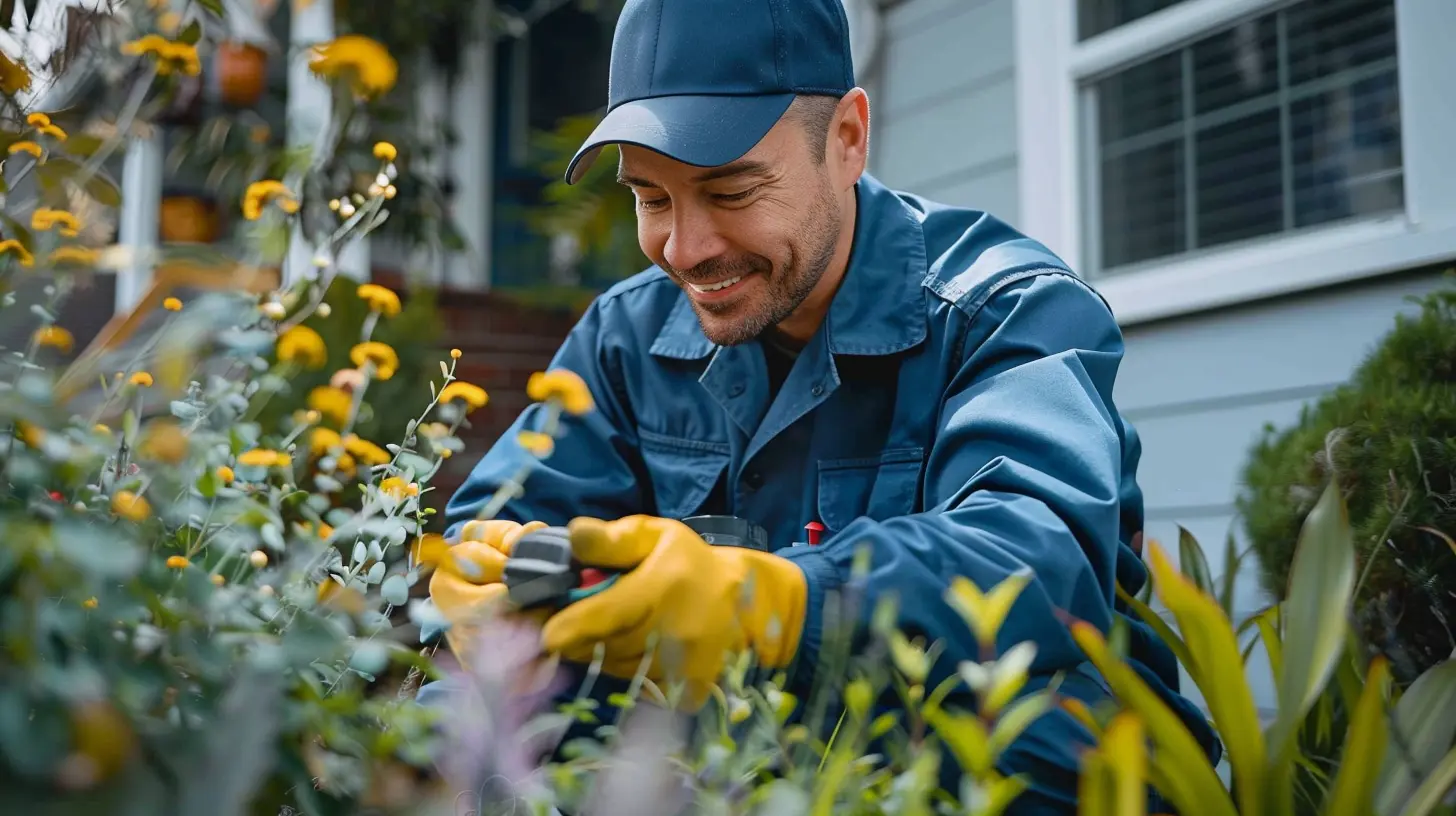
Your lawn and landscaping play a huge role in curb appeal, and the HOA is bound to inspect them. Mow the grass, trim unruly bushes, and remove any dead plants. If you have flower beds, add fresh mulch or flowers to give your yard a polished look.5. Ensure Proper Trash and Storage Practices
Many HOAs have rules about where and how you store trash bins, recycling containers, and other outdoor items. Make sure your bins are placed in approved locations, and avoid leaving bulky items outside unnecessarily.6. Clean Your Driveway and Walkways
Power washing your driveway and walkway can remove stains and give your home an instant facelift. Check for cracks or uneven spots and make repairs if needed.7. Make Necessary Structural Repairs
If you have loose fence boards, a sagging deck, or deteriorating exterior structures, now’s the time to fix them. These issues not only affect your inspection but can also pose safety risks.8. Be Proactive About HOA Communication
If you’re planning any exterior modifications, like painting your house or installing a new fence, get written approval from the HOA. Even small changes might require permission, so it’s always better to check beforehand.9. Stay on Top of Seasonal Maintenance
Different seasons bring different maintenance challenges. Keep gutters clean in the fall, check for ice damage in winter, and trim trees before they get overgrown in spring and summer. Staying proactive will save you from last-minute repairs before an inspection.
Common HOA Violation Issues and How to Fix Them
Even with preparation, some homeowners still receive HOA violation notices. Here are some of the most common issues and quick fixes:- Overgrown Lawns: Mow the grass regularly and remove weeds.
- Peeling Paint: Touch up small areas or consider repainting if larger sections are affected.
- Unapproved Decorations: Remove them promptly to avoid fines.
- Storage Issues: Keep trash bins and other outdoor items out of sight in designated areas.
- Fencing Problems: Replace broken pickets or repaint worn-out sections.
The good news? Most violations are simple to correct, and as long as you act quickly, you can avoid further penalties.
What to Do If You Receive an HOA Violation Notice
It’s not the end of the world if you receive a notice! Here’s how to handle it:1. Read the Notice Carefully: Understand what the violation is and what timeline you're given to fix it.
2. Take Immediate Action: Address the issue as soon as possible to avoid escalating penalties.
3. Communicate with the HOA: If you need an extension or clarification, contact the HOA board to discuss possible solutions.
4. Document Your Fixes: Take before-and-after photos to prove that you’ve rectified the issue.
5. Stay Proactive Moving Forward: Regular maintenance can help prevent future violations.
Final Thoughts
Preparing for an HOA maintenance inspection doesn’t have to be stressful. By staying on top of routine maintenance and understanding your HOA’s guidelines, you can keep your property in top shape and avoid unnecessary fines. Treat the inspection as an opportunity to enhance your home’s curb appeal rather than just a requirement.So, next time an HOA inspection is on the horizon, don’t panic—just follow these simple steps, and you’ll pass with flying colors!
all images in this post were generated using AI tools
Category:
Hoa GuidelinesAuthor:

Lydia Hodge
Discussion
rate this article
2 comments
Zephyra Clarke
Getting ready for HOA inspections? Think of it as spring cleaning with a purpose! A little prep goes a long way—happy tidying!
April 23, 2026 at 4:02 AM
Lydia Hodge
Absolutely! A bit of preparation can make a big difference. Happy tidying to everyone!
Kimberly McCracken
HOA inspections: because apparently, a little bit of grass and a clean mailbox can single-handedly save the neighborhood's reputation. Get it together, folks!
April 22, 2026 at 2:32 AM
Lydia Hodge
It's true that small details can make a big impact. Keeping up with those inspections helps everyone maintain property values and community pride.